Flash the OS
We recommend using balenaEtcher or Raspberry Pi Imager to flash the OS image.
First, go to the download page and download the image.
-
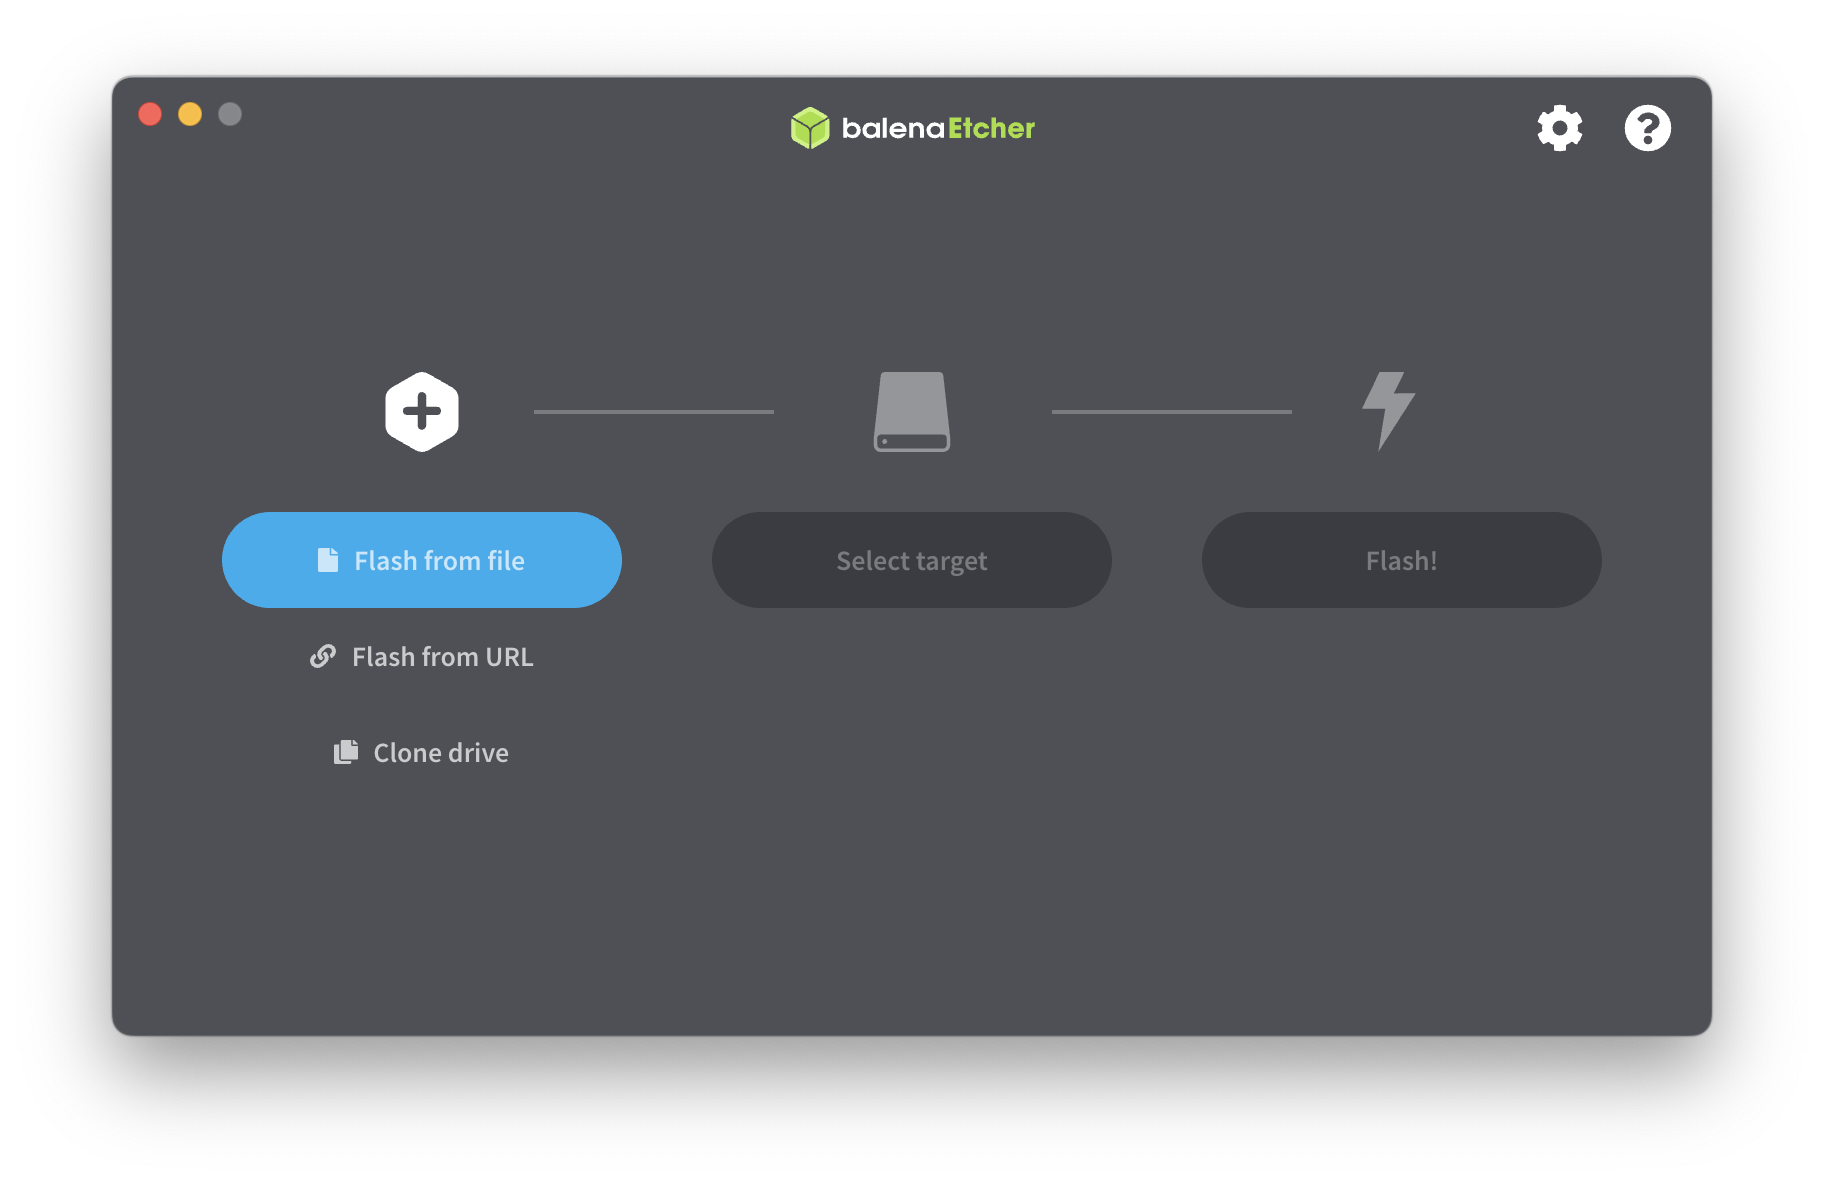
Open the application balenaEtcher.
-
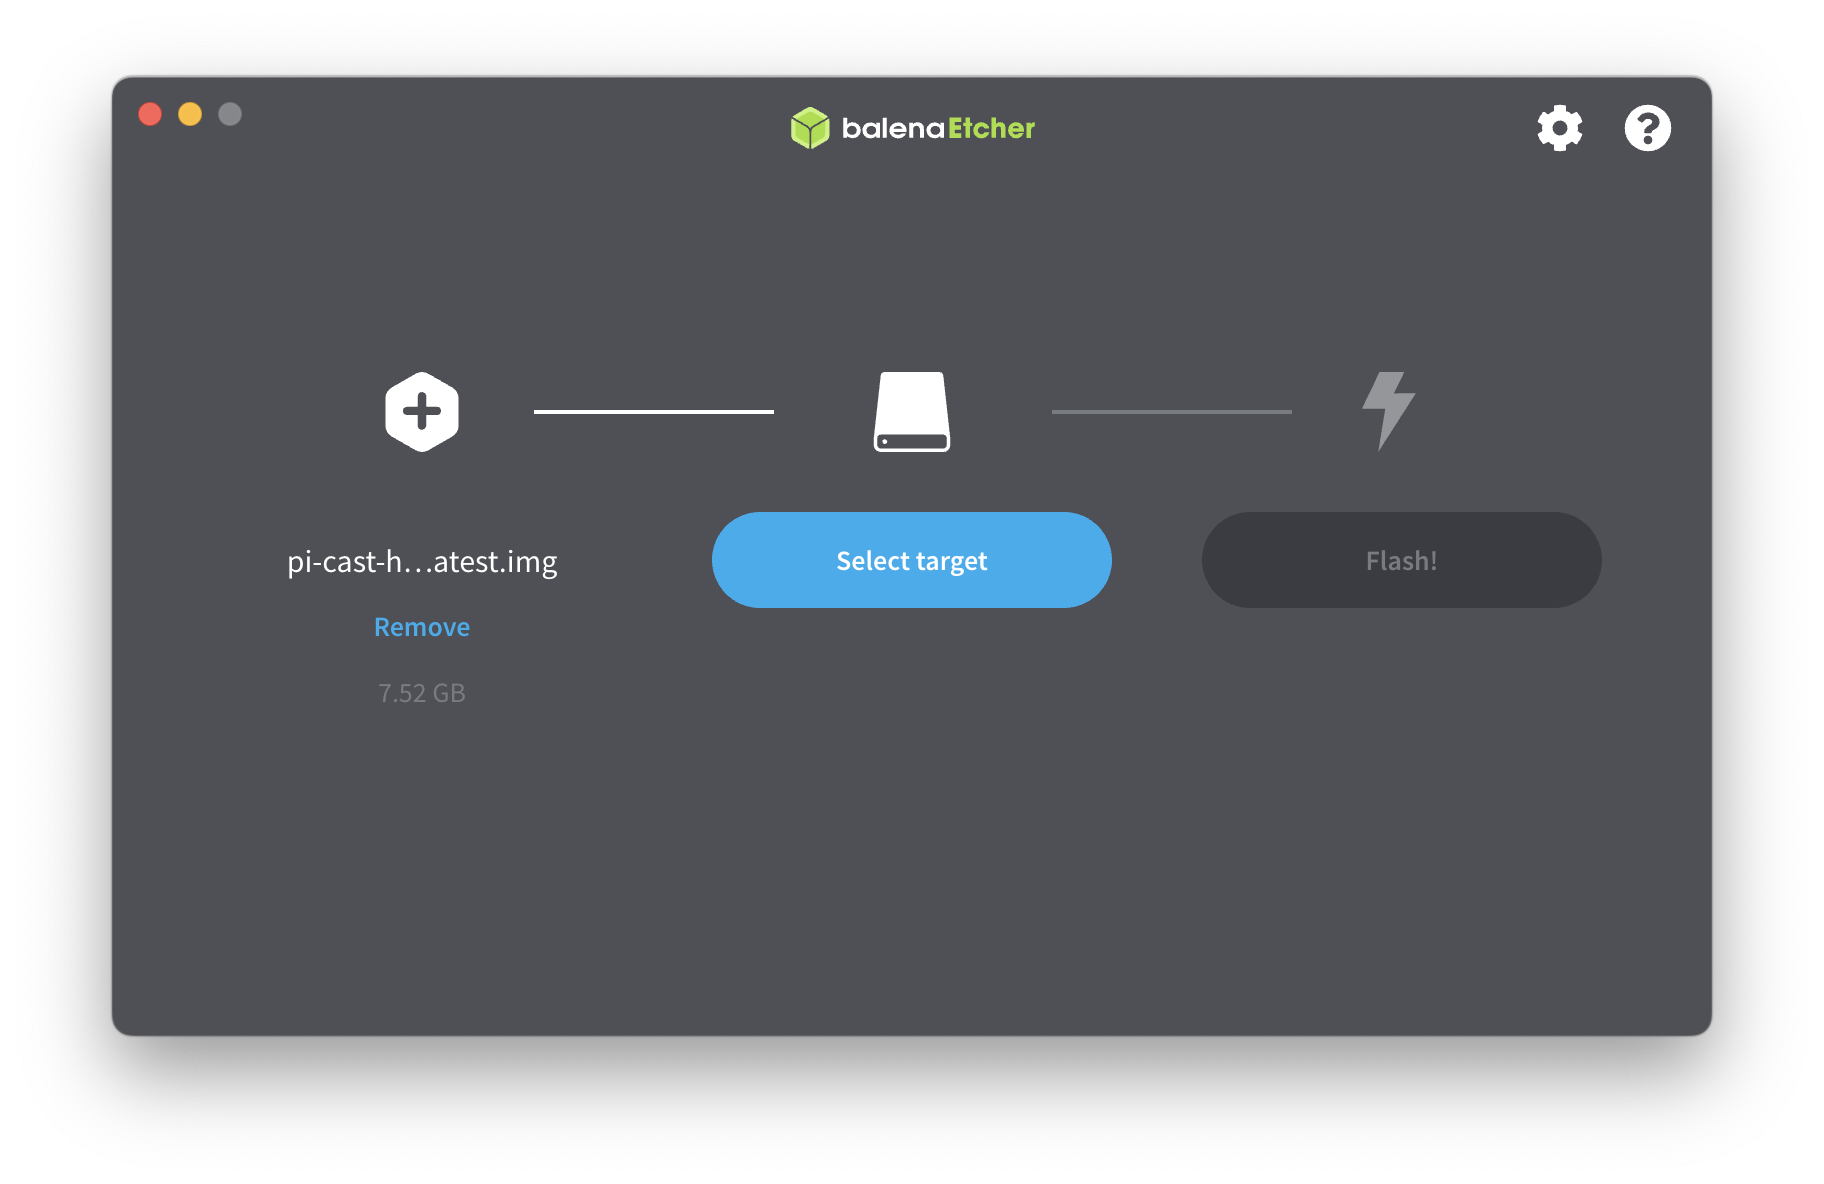
Click on the Flash from file button and select the image you download from the download page.
-
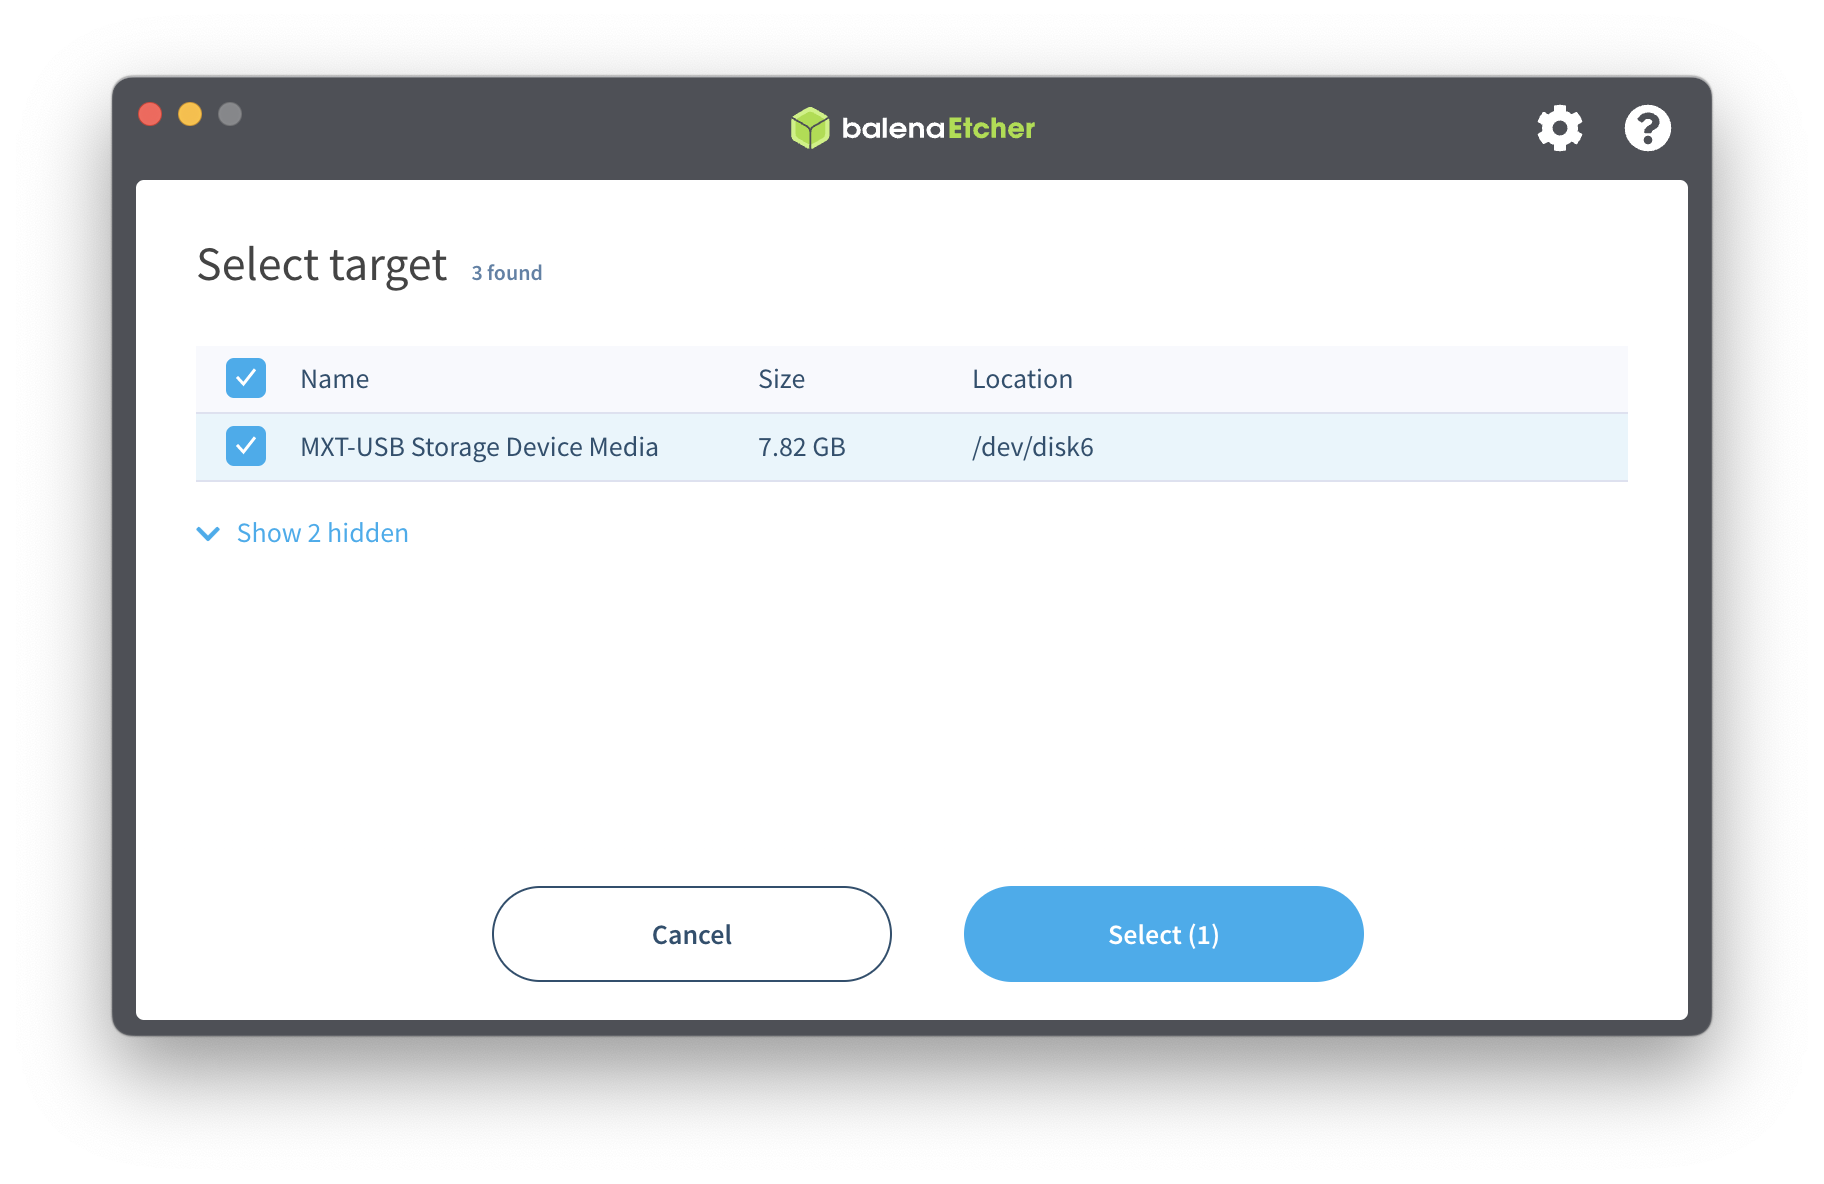
Click the Select target button then select the target SD card you want to flash.
-
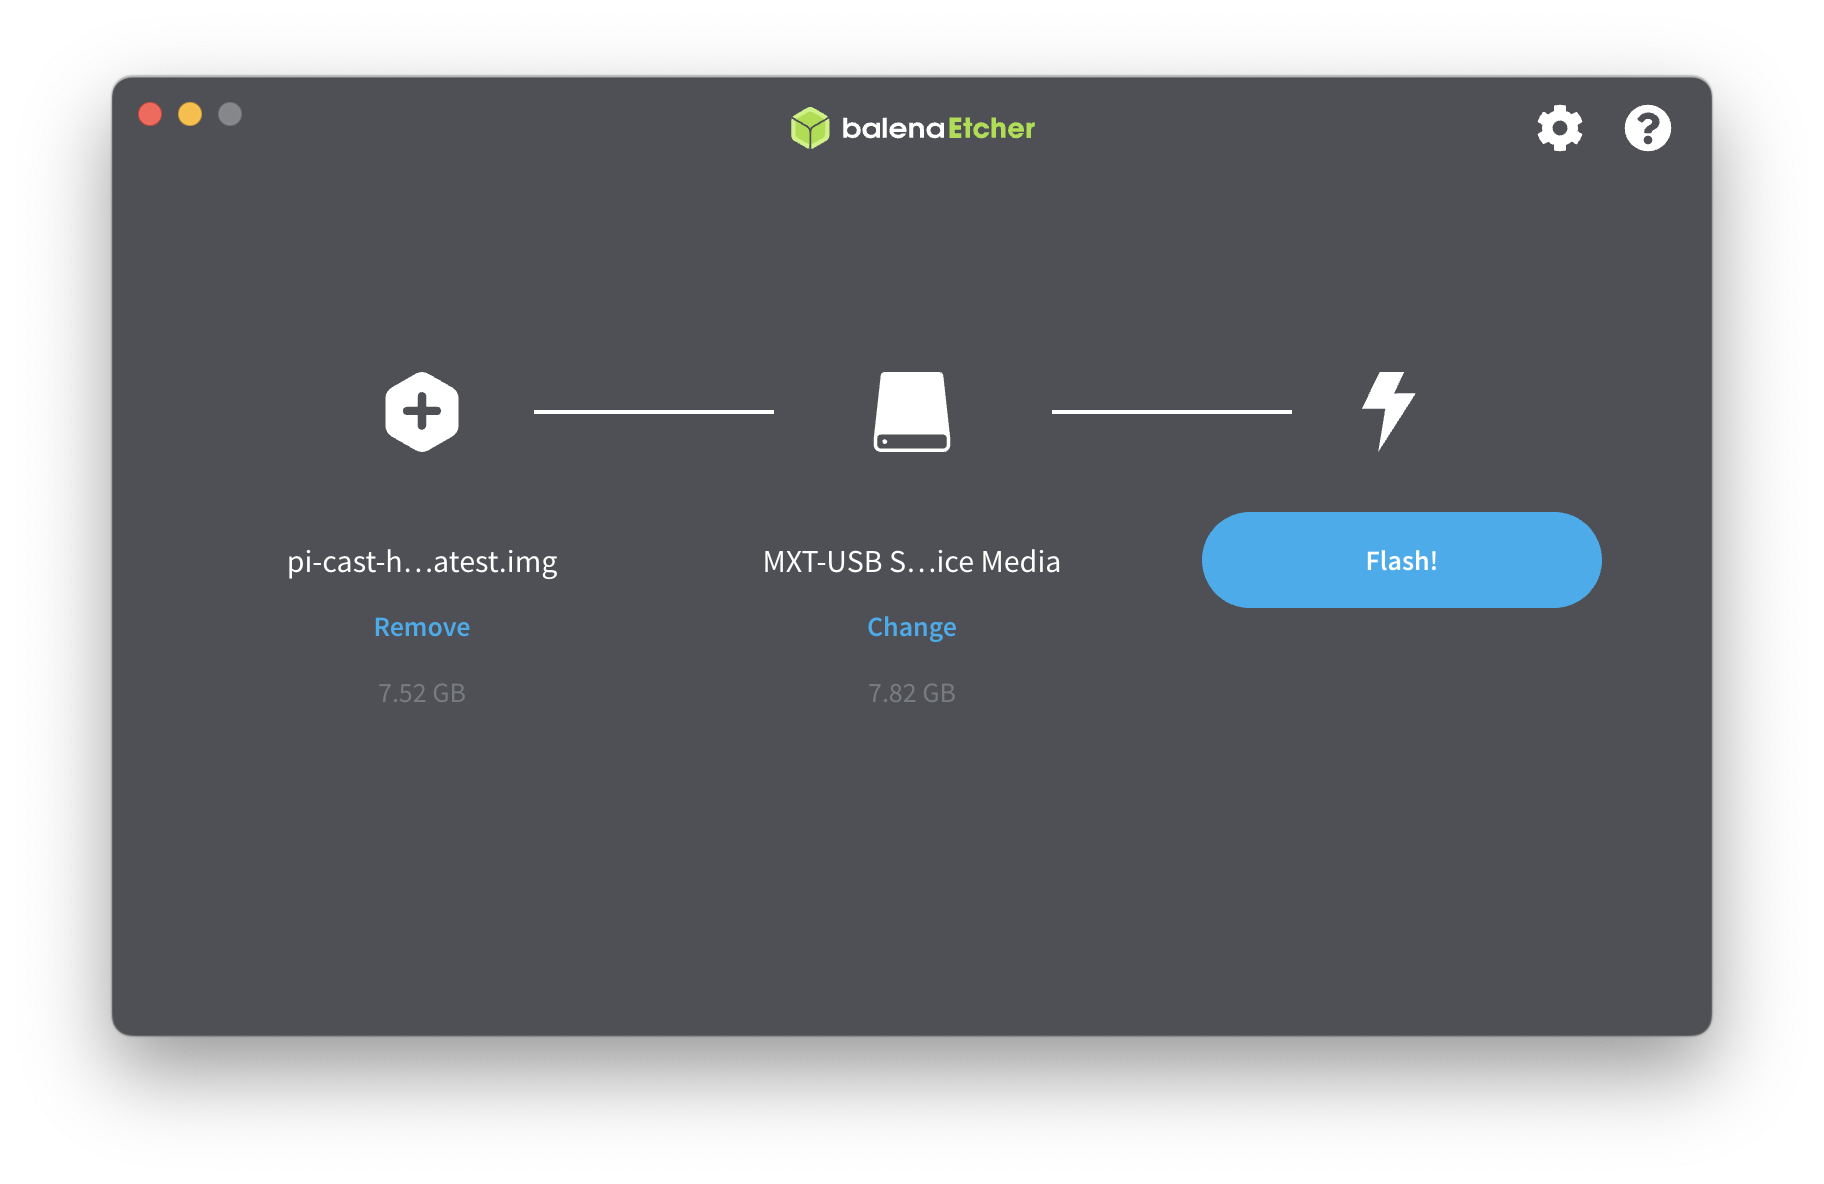
Click on the Flash! button. It may require your password when you're operating on macOS or Linux.

-
Waiting for balenaEtcher to finish the flashing process then remove the SD card and insert it into the Pi-Cast.
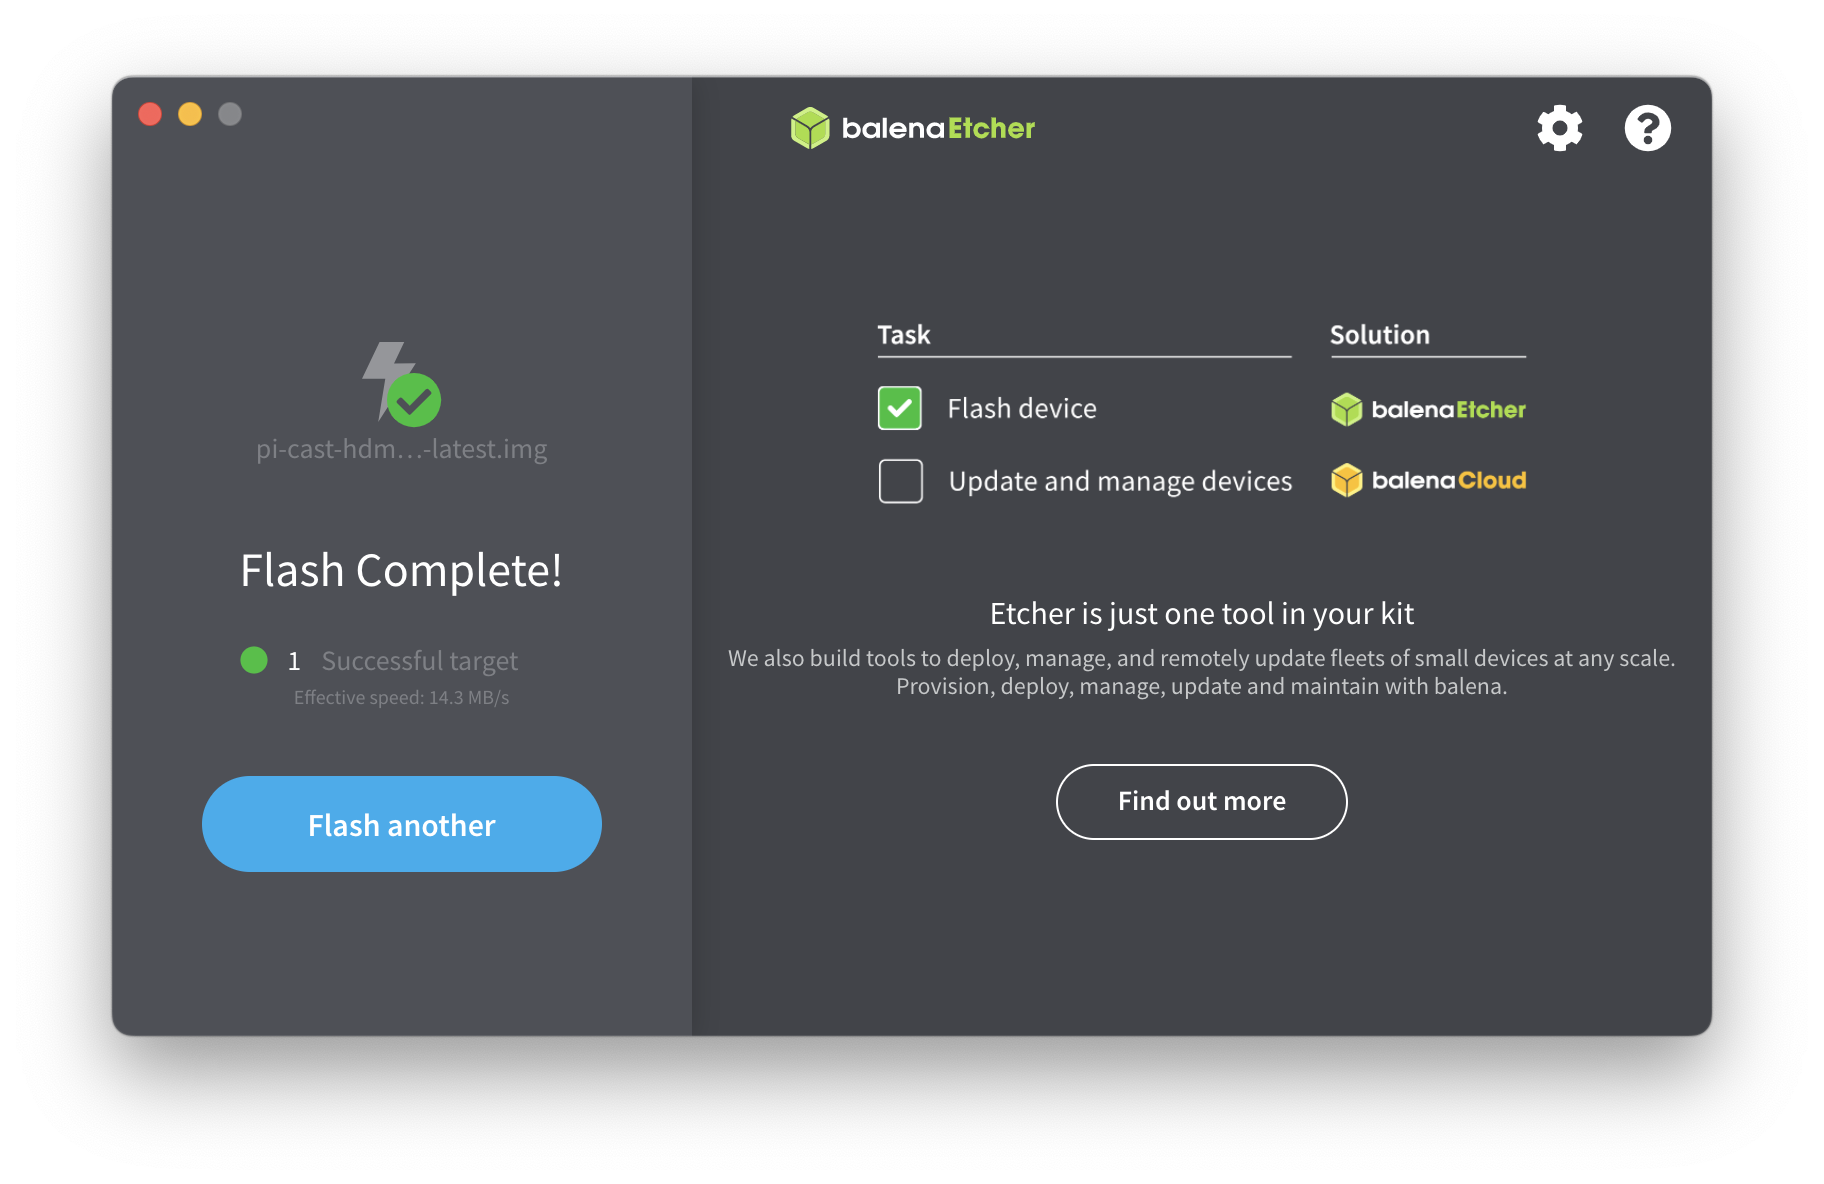
-
Open the application Raspberry Pi Imager.
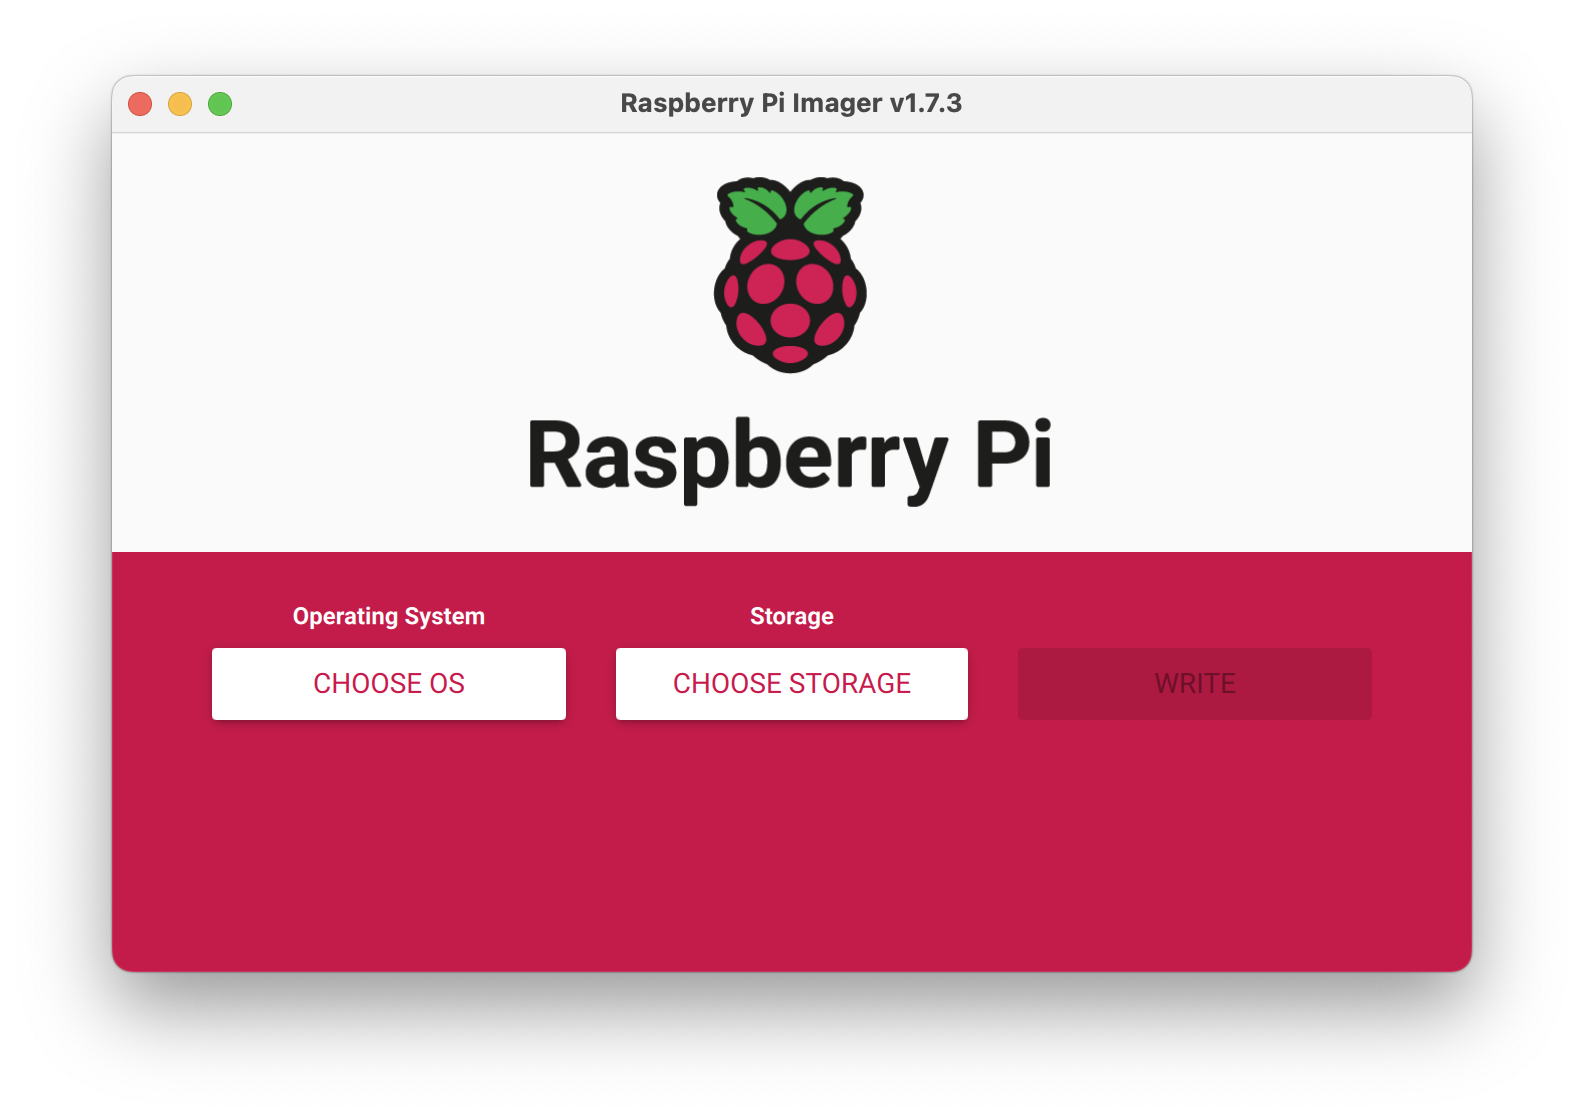
-
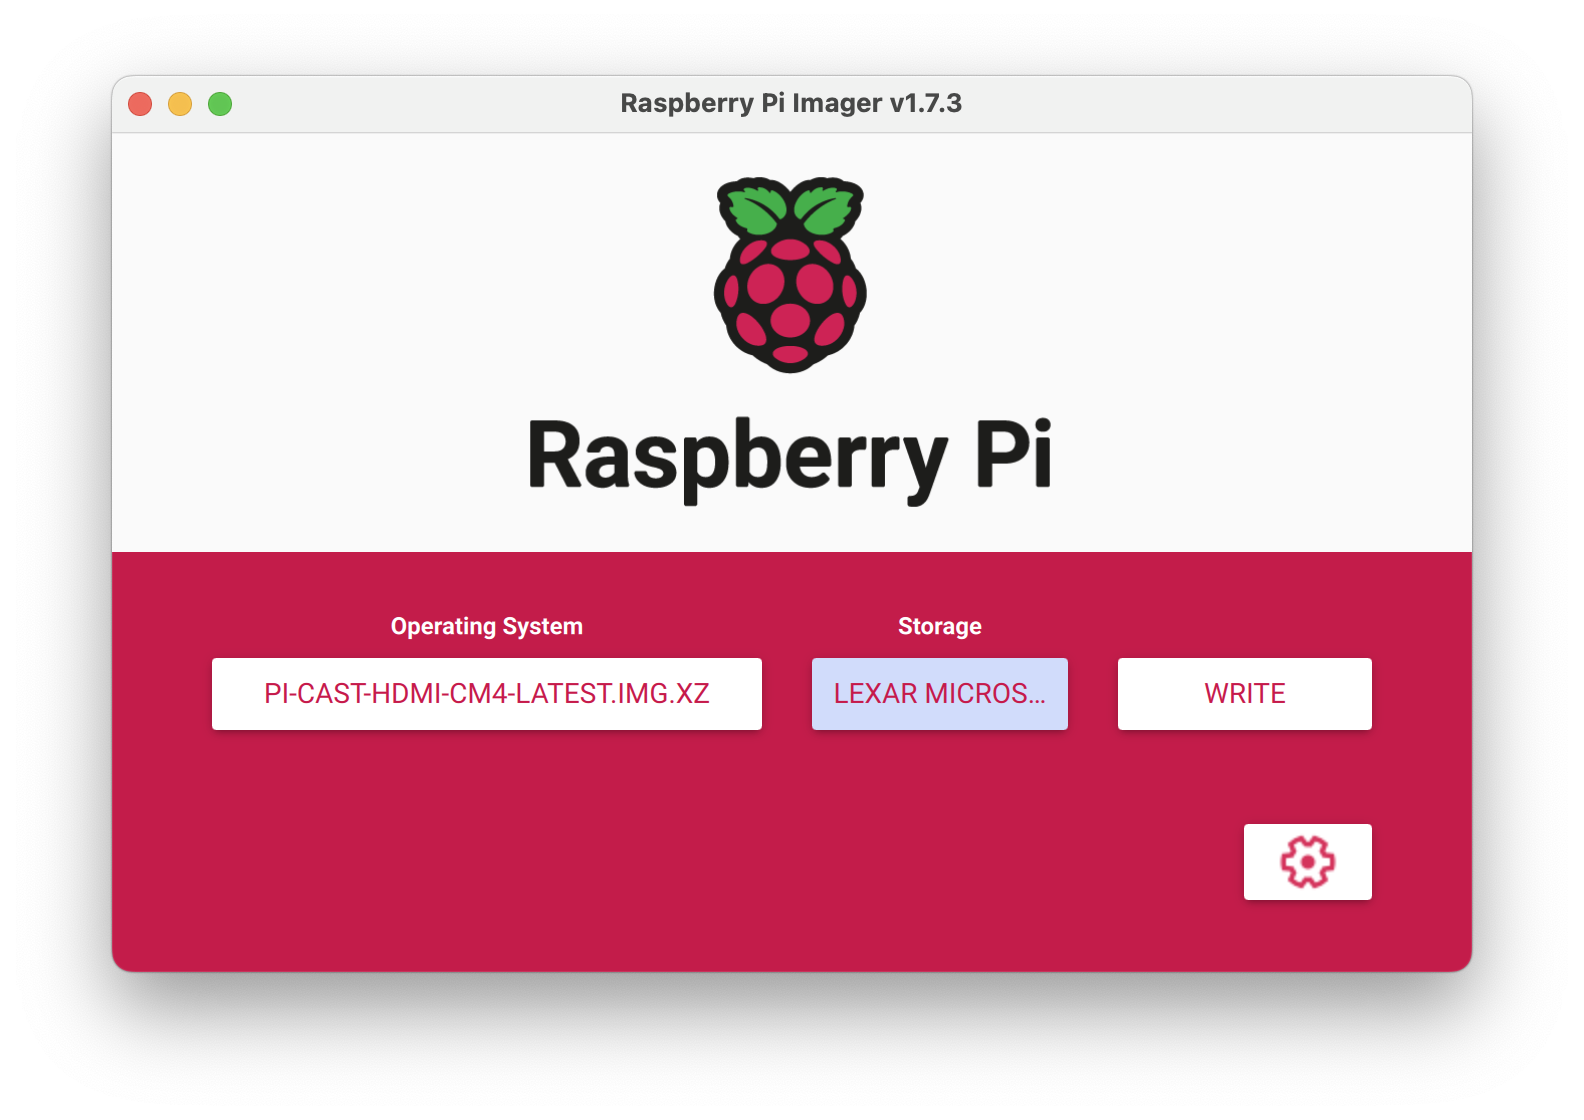
Click the CHOOSE OS button, then scroll down to the bottom of the list. Select Use custom, which allows you to choose the image you've downloaded from the download page.
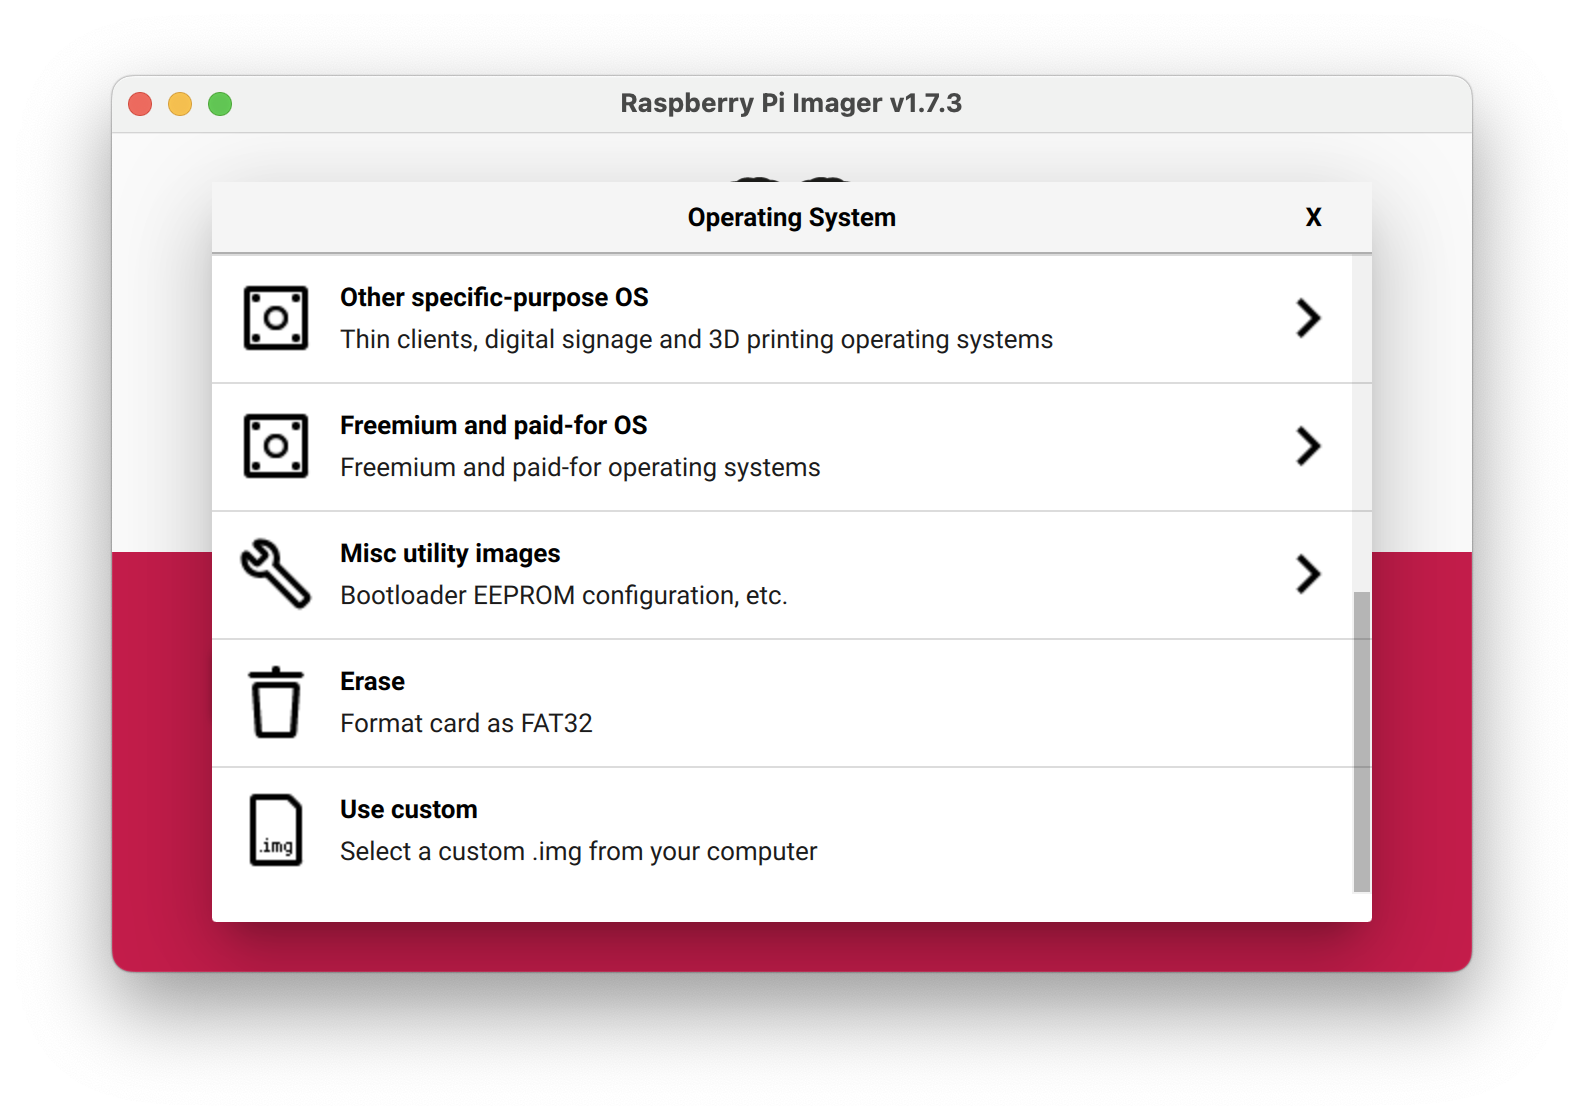
-
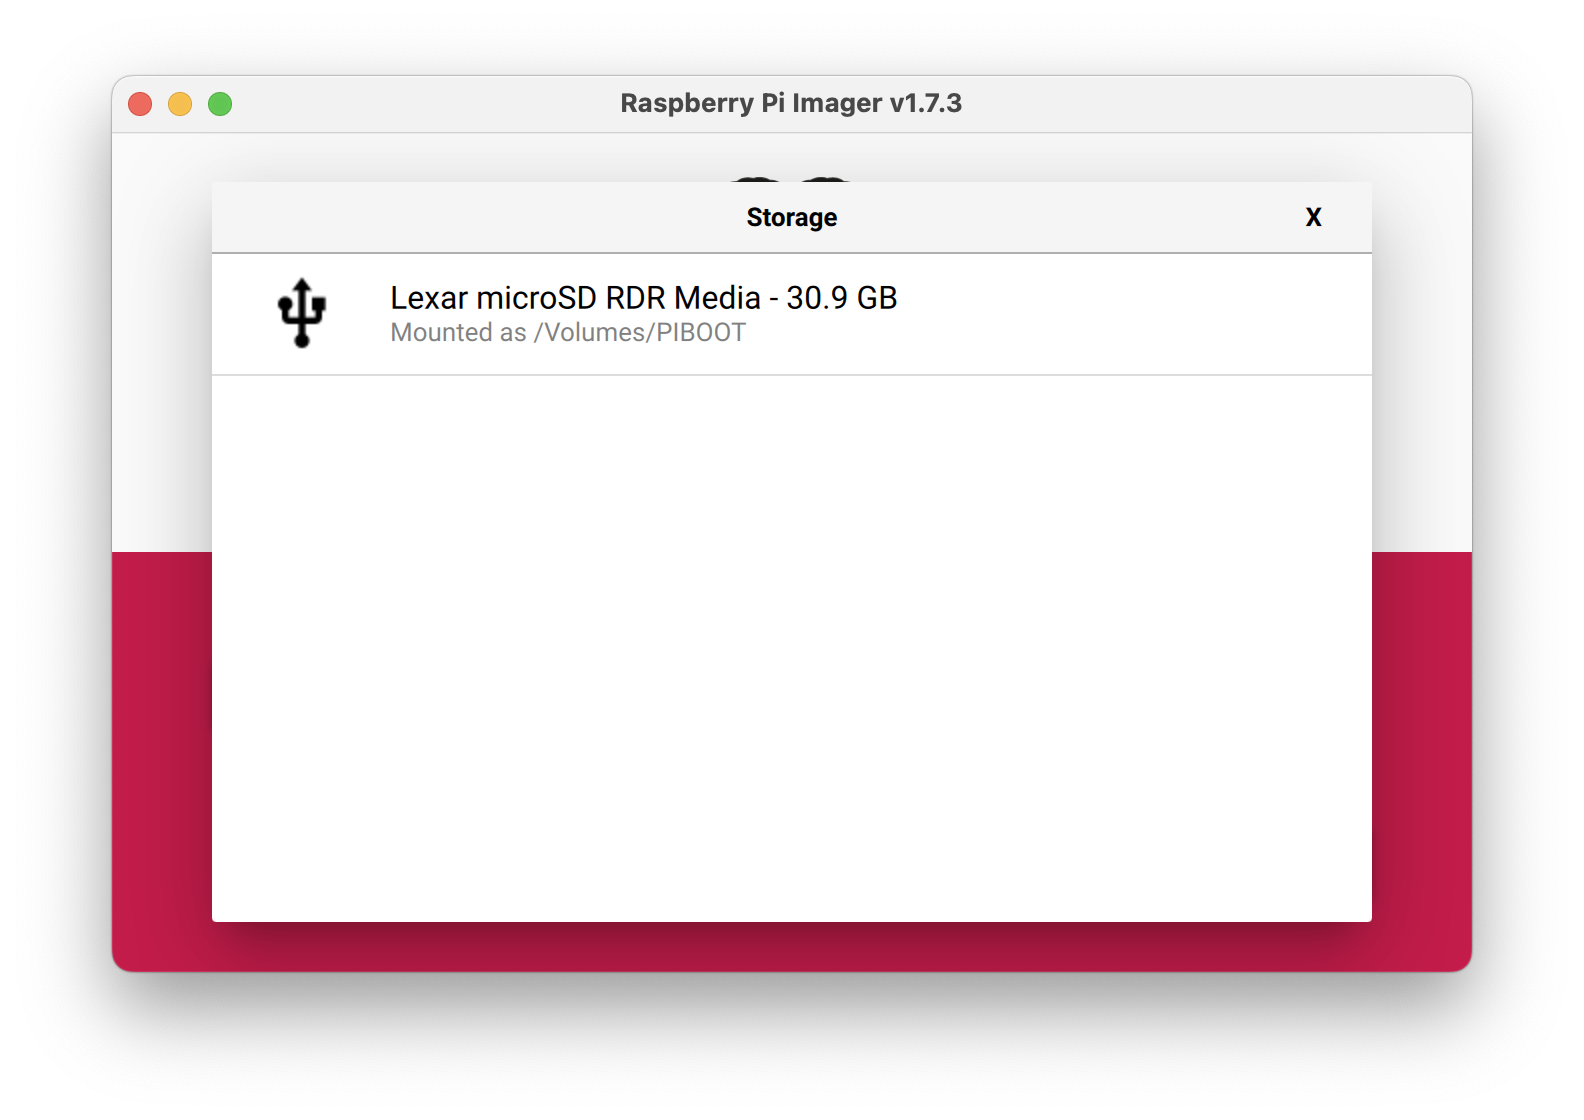
Click the CHOOSE STORAGE button then select the target SD card from the list you want to flash.
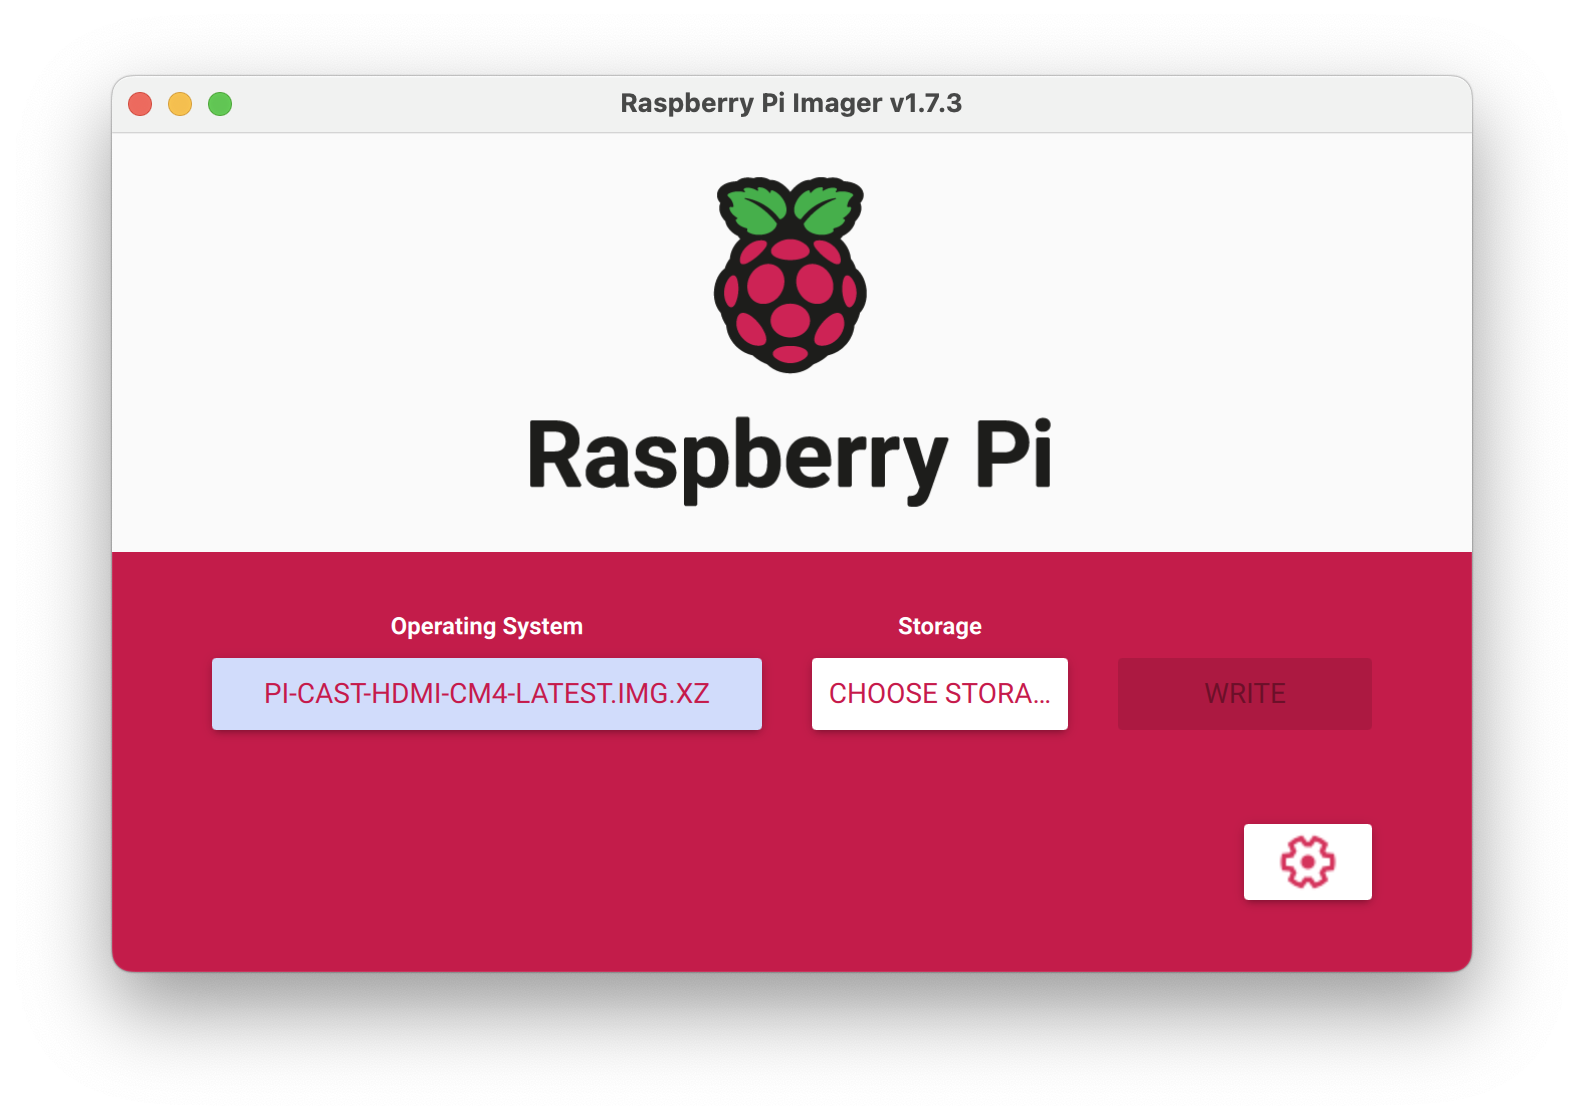
-
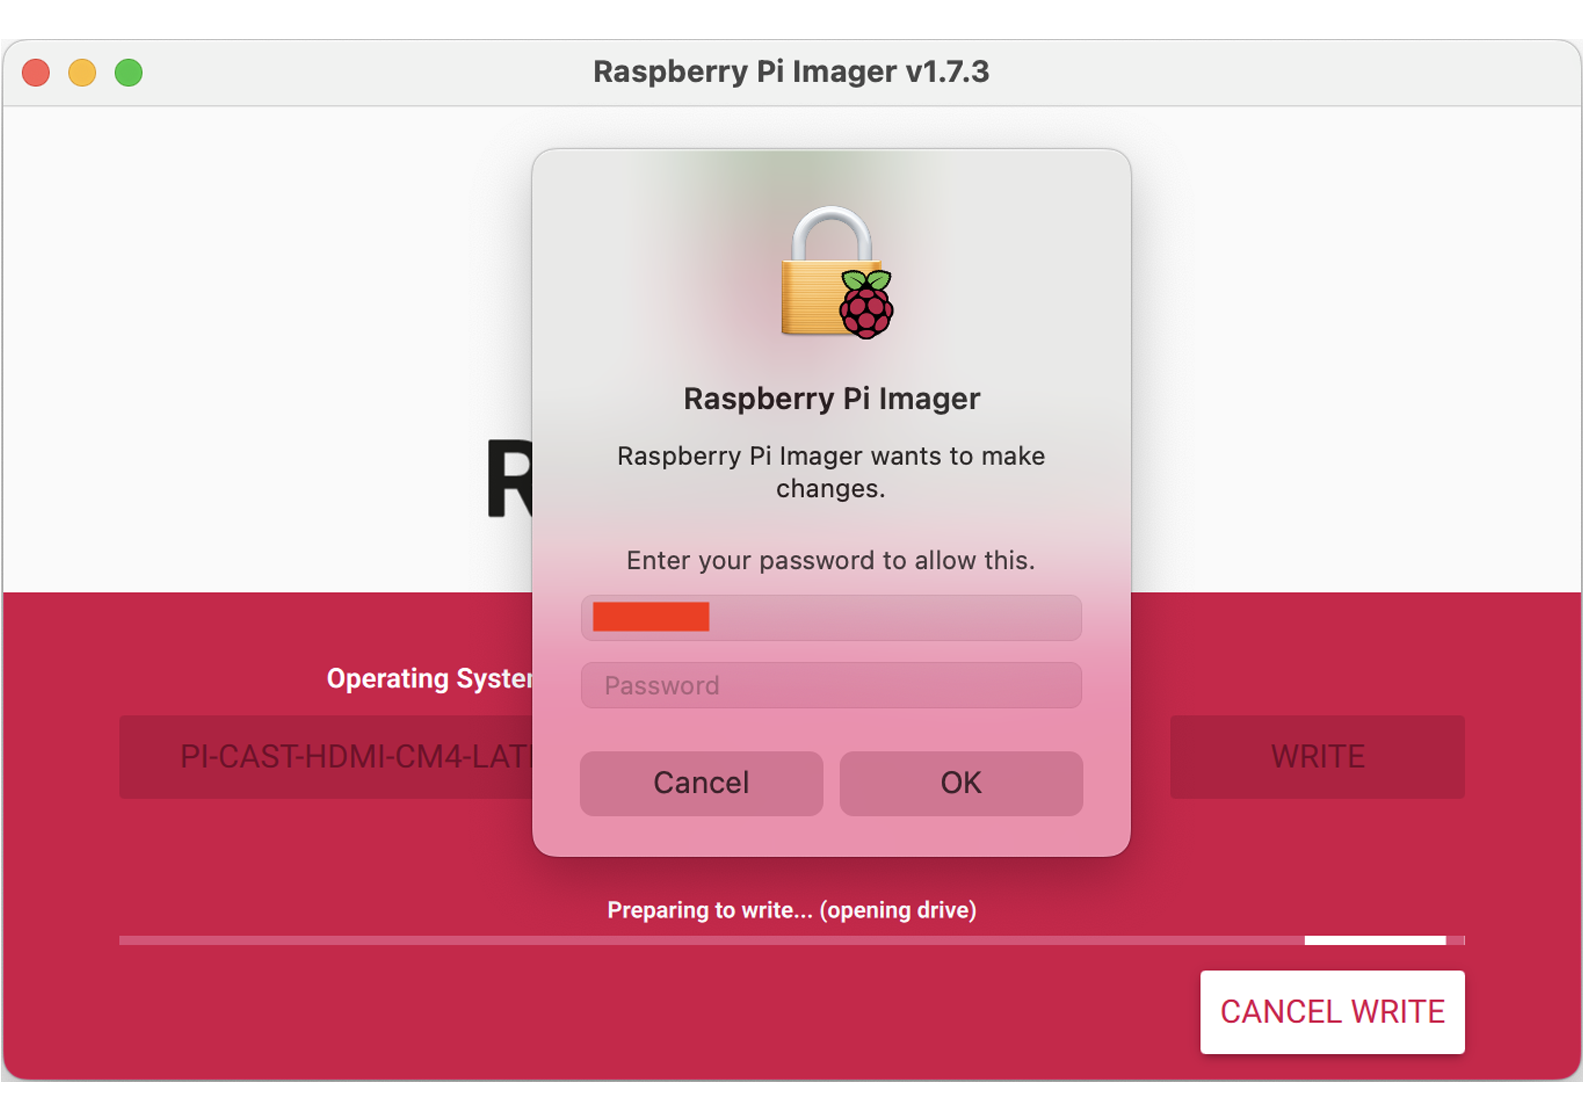
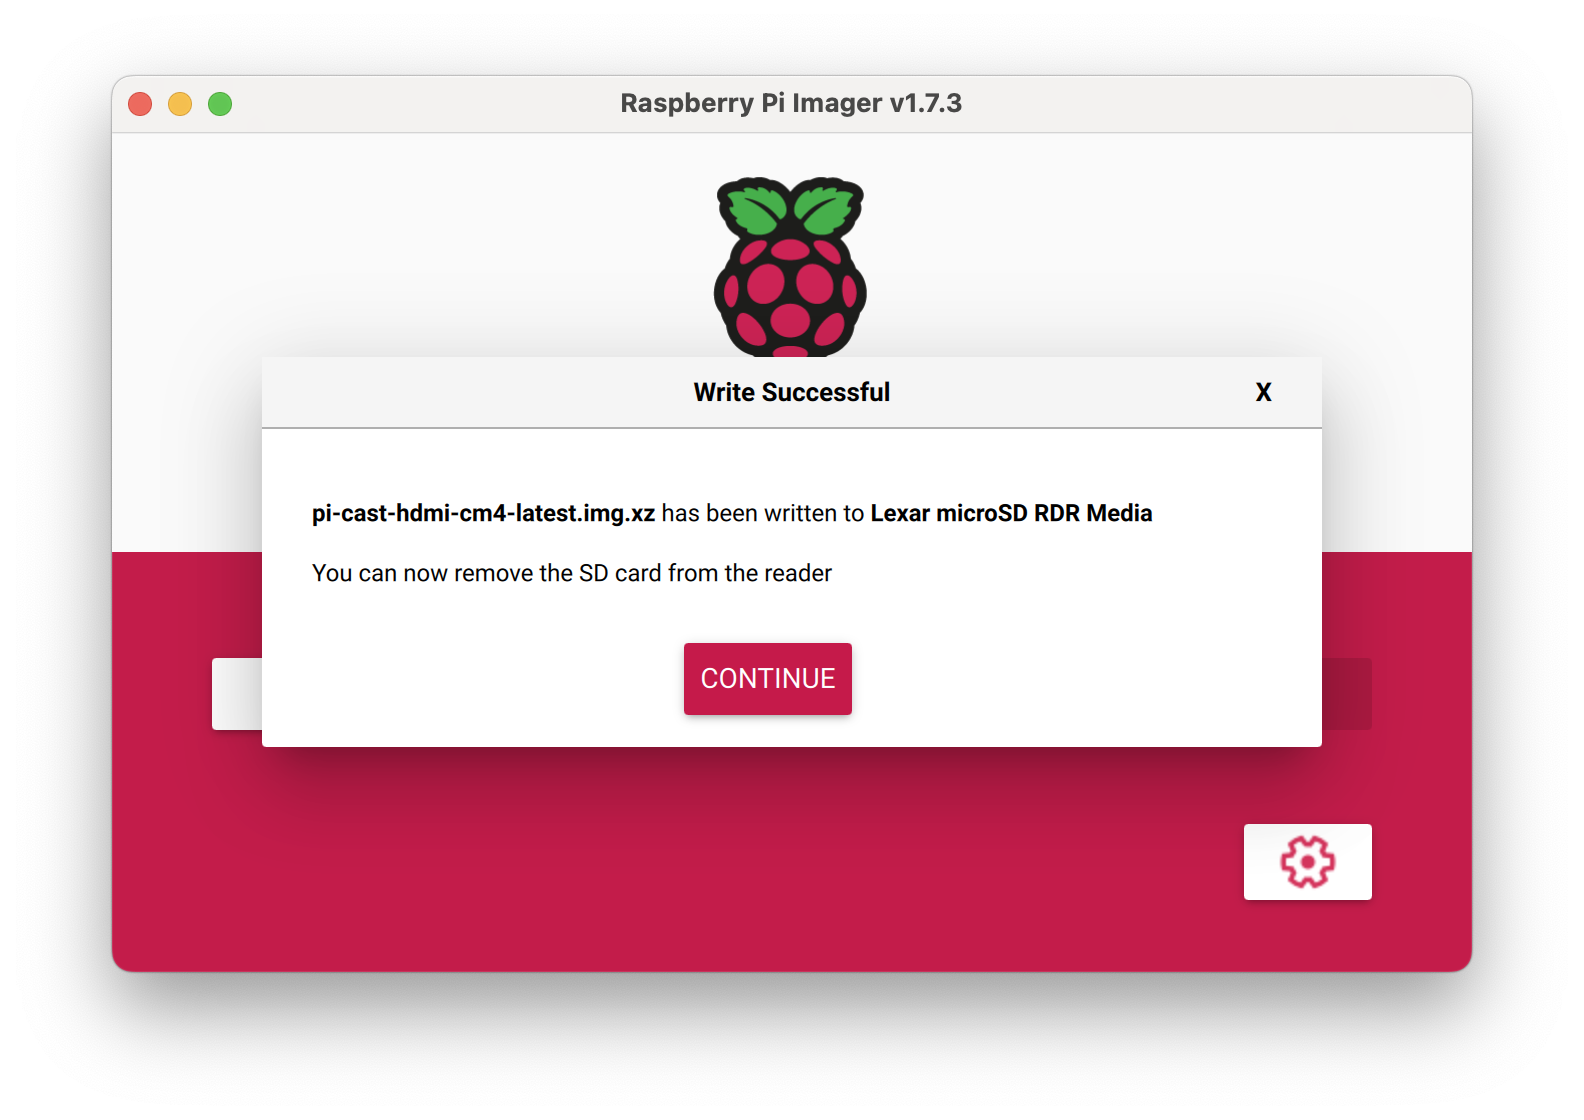
Click the WRITE button to start flashing. It may require your password when you're operating on macOS or Linux.
-
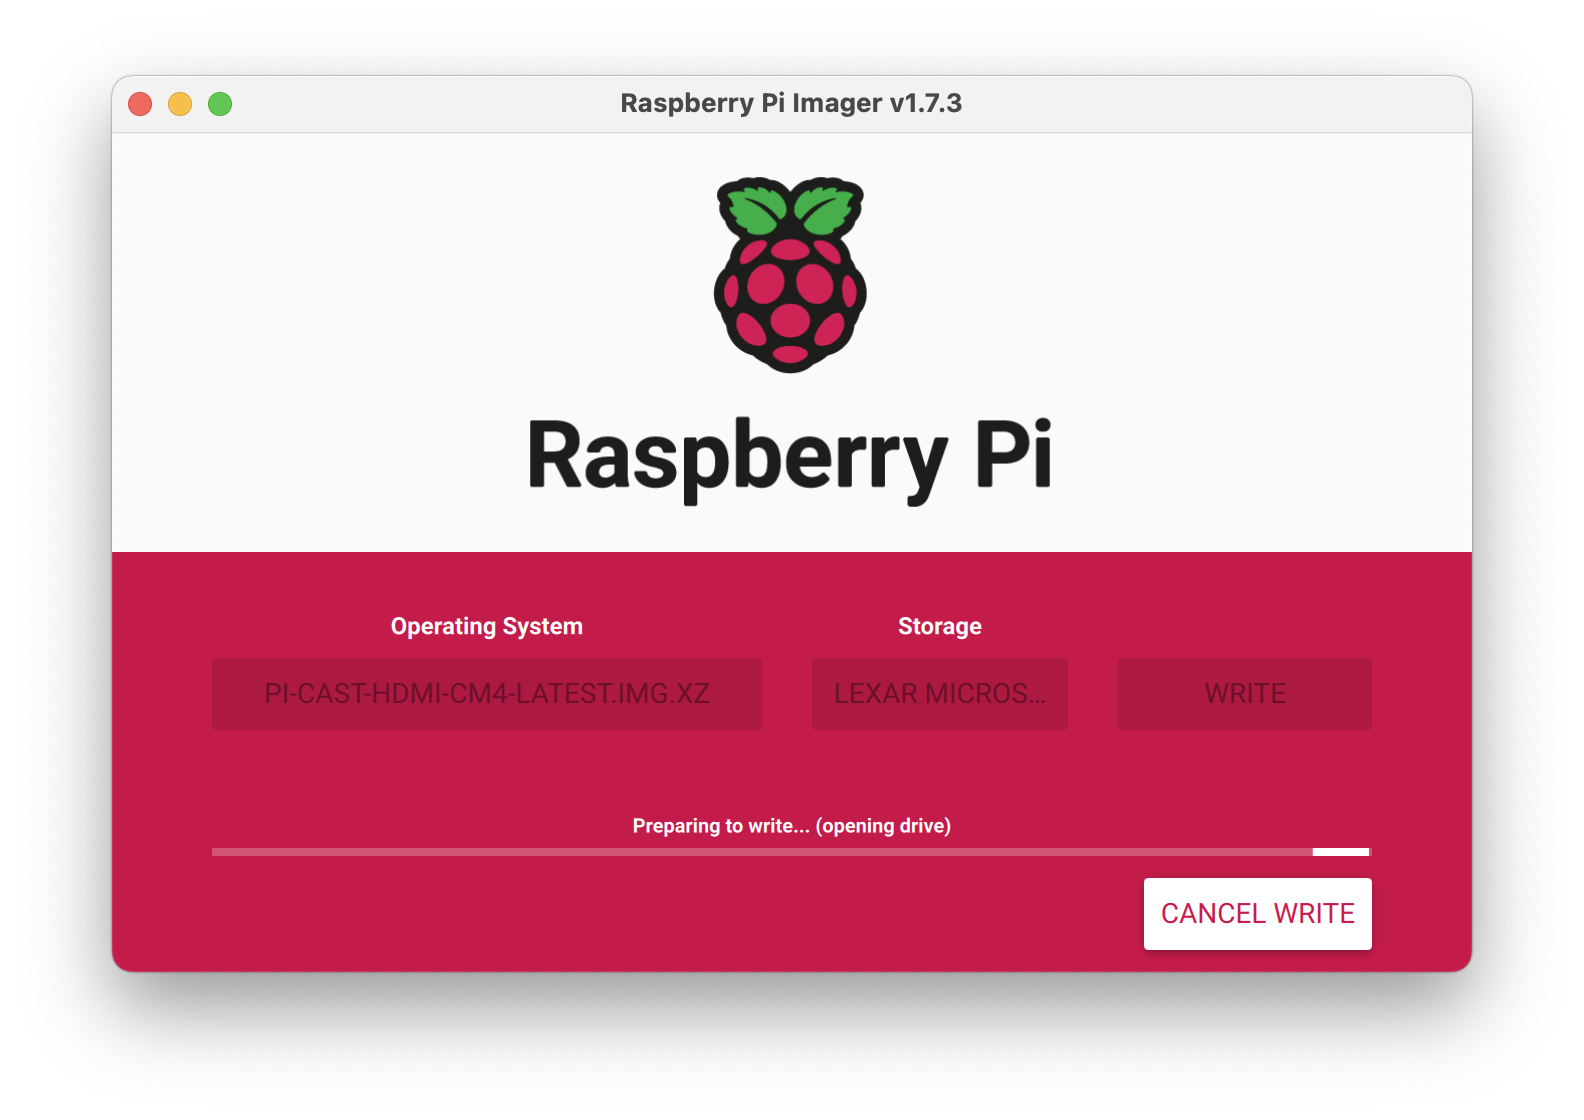
Waiting for Imager to finish the flashing process then remove the SD card and insert it into the Pi-Cast.
Flash the Raspberry Pi Compute Module 4 (CM4) eMMC
In order to flash the eMMC version Raspberry Pi CM4 you should turn eMMC storage into 'USB mass storage' mode.
To turn the eMMC storage into 'USB mass storage' mode you can follow the below steps.
-
Change position #1(Pi-Boot) of the dip switch into status ON.
-
Plug a USB-C cable from your computer into the 'USB simulation port' type-c port on the Pi-Cast Board(in the middle of the HDMI ports), don't plug in power we will do it later.
-
Using the rpiboot to mount the eMMC storage into 'USB mass storage' mode.
For those who just want to enable the Compute Module eMMC as a mass storage device under Windows, the stand-alone installer is the recommended option. This installer has been tested on Windows 10 64-bit.
Please ensure you are not writing to any USB devices whilst the installer is running.
-
Download and run the Windows installer to install the drivers and boot tool.
-
Plug in the power of the Pi-Cast, Windows should now find the hardware and install the driver.
-
Once the driver installation is complete, run the RPiBoot.exe tool that was previously installed.
After a few seconds, the Compute Module eMMC will pop up under Windows as a disk (USB mass storage device).
Instructions for building and running the latest release of rpiboot are documented in the usbboot readme on Github.
After you run the
sudo ./rpibootthen plug in the power of the Pi-Cast -
-
Then flash the eMMC storage as a regular memory card by using balenaEtcher or Raspberry Pi Imager following the above steps.